

close
Choose Your Site
Global
Social Media

Views: 0 Author: Site Editor Publish Time: 2026-08-26 Origin: Site


Cargo securement leaves zero room for error. An improperly secured load on a moving trailer creates severe safety hazards, triggers legal liabilities, and destroys valuable freight. When loads shift or fall during transit, the root cause is rarely a spontaneous manufacturing defect in the hardware. Most cargo failures stem directly from user error. Improper threading techniques, inadequate tensioning, or selecting a strap with an insufficient Working Load Limit (WLL) for the specific application are the primary culprits behind roadside disasters.
Mastering load securement requires more than just pulling a strap tight. It demands flawless physical execution combined with a strict technical evaluation of the hardware you deploy. Operators must understand the mechanical limits of their tools and the physics of the loads they transport. This guide details the exact operational steps for safely securing and releasing cargo. We also provide a reliable framework for selecting the right equipment to match specific transport requirements.
Hardware Anatomy Dictates Function: Understanding the relationship between the mandrel, release lever, and webbing is non-negotiable for safe operation and preventing mechanism jams.
Thread and Tension Protocol: Eliminating slack before ratcheting is the single most critical step to prevent spool overloading and strap slippage.
Specification Over Aesthetics: Selecting equipment based on verified Working Load Limits (WLL)—not just break strength—is a strict compliance requirement for both commercial and residential hauling.
Visibility Enhances Safety: Utilizing high-visibility equipment, such as a fluorescent ratchet tie down, significantly reduces accident risks during low-light transport and roadside adjustments.
You cannot safely operate or troubleshoot a mechanical device you do not fully understand. Recognizing the individual components of a tie-down system is the first step in preventing hardware jams. A standard assembly is not a single continuous piece. It splits into two distinct parts that work together to create mechanical advantage.
The two-piece system configuration consists of a short, fixed end and a long, adjustable end. The fixed end contains the ratchet buckle mechanism, a short length of webbing, and an end fitting designed to attach to the anchor point. The long end is the primary Cargo Lashing Strap. This strap features a hook on one side and a plain webbing tail on the other. You feed this long tail into the buckle assembly to secure the load.
The ratchet assembly itself acts as the engine of the system. It consists of a handle, a spring-loaded release trigger, and a slotted spool known as the mandrel. When you pump the handle, the mandrel rotates. This action pulls the webbing through the slot and wraps it around the spool. Heavy-duty gear teeth on the sides of the mandrel engage with a locking pawl. This pawl holds the tension securely in place and prevents the spool from spinning backward.
Manufacturers engineer the webbing material specifically for load securement. They typically use high-tenacity industrial polyester. Polyester offers exceptionally low stretch under heavy loads. This ensures the cargo does not loosen dynamically during transit. It also provides high resistance to ultraviolet degradation, water absorption, and chemical exposure. These properties extend the operational lifespan of the strap.
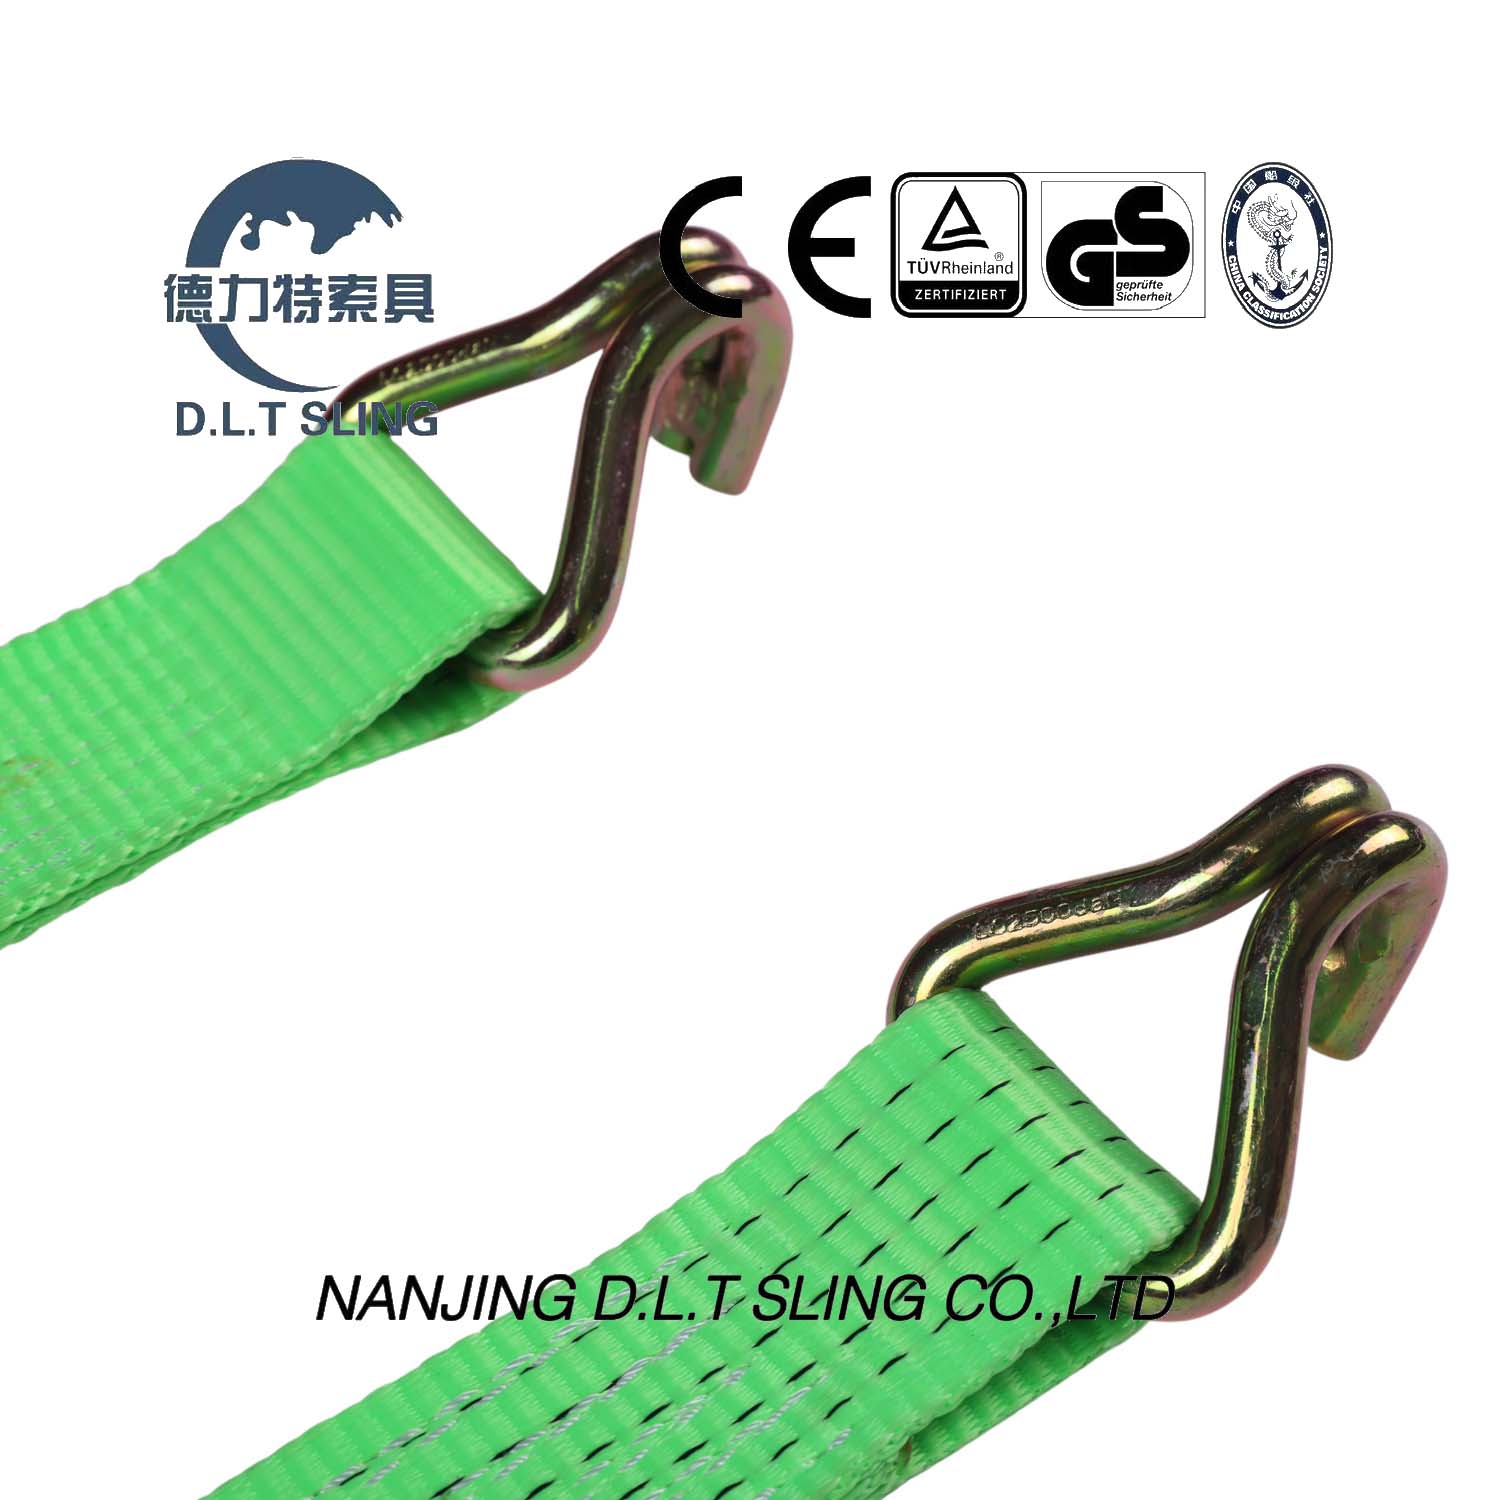
End fittings, or hooks, determine how the system interfaces with your vehicle or trailer. Standard hardware terminations include S-hooks, J-hooks, flat hooks, and wire hooks. You must map these fittings to their appropriate anchor points. Using the wrong hook for an anchor point concentrates stress on the tip of the hook. This mistake leads to bending or sudden failure under tension.
Hook Type | Best Anchor Point | Common Field Application |
|---|---|---|
S-Hook | Standard D-rings, small holes | Light utility trailers, motorcycles, ATVs |
J-Hook (Double) | Recessed D-rings, heavy rails | Flatbed trailers, heavy machinery transport |
Flat Hook | Under flatbed rub rails | Lumber loads, commercial flatbed freight |
Wire Hook | Narrow D-rings, tight clearances | Enclosed trailers, custom anchor setups |
E-Track Fitting | Interior E-track rails | Box trucks, enclosed cargo trailers |
Understanding these components allows you to identify wear and tear before it causes a failure. When you know how the locking pawl interacts with the gear teeth, you can easily spot when debris or rust compromises the mechanism. This knowledge keeps you safe on the road.
Executing a flawless securement process requires strict adherence to a standardized protocol. Skipping steps or rushing the threading process inevitably leads to jammed mechanisms or loose cargo. Follow these steps every time you secure a load.
Before you throw any webbing over a load, perform a visual inspection of the entire assembly. Check the webbing for severe abrasions, cuts, broken stitching, chemical burns, or extreme UV degradation. UV damage often shows up as severe fading and a stiff, brittle texture. Inspect the ratchet mechanism to ensure the gear teeth are not worn flat. Verify that the release trigger moves freely. If you find compromised equipment, remove it from service immediately.
Properly seat the hooks into structural anchor points. Your anchor points must handle the tension of the load. Never attach hooks to plastic bumpers, weak sheet metal body panels, or non-load-bearing trim. The hook must sit fully inside the anchor. The load must bear on the thickest part of the hook's curve, not the tip.
Adhere to the passenger-side rule. Whenever possible, position the ratchet buckles on the passenger side of the vehicle. Dynamic forces during transit cause loads to settle. Straps often require re-tensioning after the first few miles. If you need a roadside adjustment, placing the buckles on the passenger side allows you to tension the strap while standing safely on the shoulder. This keeps you physically shielded from active highway traffic.
Improper threading causes most equipment failures. Start by opening the ratchet handle to expose the mandrel slot. Rotate the mandrel until the slot points straight up. This allows clear access from the bottom.
Take the loose end of the webbing and thread it up from the bottom of the mandrel slot. Pull the webbing through the slot and fold it back over itself. Point it back in the direction it came from.
Eliminating slack before engaging the handle is the most critical technique in this entire process. You must pull 90 to 95 percent of the slack out of the system by hand. If you begin ratcheting while there is still a massive amount of loose webbing in the system, the webbing will quickly fill the spool. It will jam against the frame of the buckle and lock the mechanism completely. We call this a spaghetti spool jam. It prevents the strap from reaching the necessary tension and makes it incredibly difficult to release.
Once you remove the slack by hand, begin the tensioning process. Move the handle up and down in a steady pumping motion. Each pump rotates the mandrel, drawing the webbing tighter around the spool.
Monitor the number of webbing wraps accumulating on the mandrel. The optimal configuration is exactly two to three full wraps of webbing around the spool. This provides enough friction to lock the webbing securely against itself so it cannot slip. It does this without overloading the physical capacity of the spool. Continue pumping until the strap is tight and the cargo is firmly immobilized. Do not over-tighten. The mechanical advantage of the ratchet can easily generate enough force to crush fragile cargo or bend anchor points.
When you achieve the desired tension, you must lock the mechanism. Push the ratchet handle down until it is completely flat and closed against the frame. You should hear a distinct click as the locking pawl fully engages the gear teeth. If you leave the handle partially open, the lock is not secure. Road vibrations can cause the mechanism to spring open and release the load.
Finally, secure the excess tail webbing. Loose webbing trailing in the wind acts like a whip at highway speeds. This wind-whip effect rapidly destroys the polyester fibers and frays the edges. It can even damage the painted surface of your vehicle. Secure the excess tail by tightly rolling it up and wrapping it with velcro straps. Alternatively, tie it off securely against the tensioned portion of the strap using a daisy-chain knot.
Releasing a tensioned strap requires caution. A fully tightened system stores a significant amount of kinetic energy. When you release the mechanism, this energy discharges instantly. This creates a risk of snap-back that can cause hand injuries or cause the load to shift suddenly.
To disengage the mechanism, pull and hold the spring-loaded release trigger located on the handle. While holding the trigger, pull the handle open a full 180 degrees until it lays completely flat in the opposite direction. This action lifts the locking pawl out of the gear teeth. The mandrel can now spin freely.
Once you lock the handle in the fully open position, grab the webbing above the buckle. Pull it firmly to unwind it from the mandrel. Keep your fingers entirely clear of the gear teeth and the mandrel slot during this process to avoid pinch injuries.
Occasionally, you will encounter a jammed mechanism. If you over-tensioned the strap or threaded it with too much slack, the release lever becomes incredibly difficult to pull. To troubleshoot a jammed strap, apply firm, steady downward pressure on the release lever. Simultaneously pull the long end of the strap with extra force. In severe cases, you may need to slightly pump the handle. This relieves the pressure on the locking pawl just enough to pull the release trigger back.
Purchasing the correct hardware requires a technical evaluation of your load requirements. Deploying a standard light-duty strap for a heavy commercial load directly violates safety protocols. You must match the equipment to the job.
The Working Load Limit stands as the most critical specification. You must understand the physical difference between WLL and break strength. The break strength is the absolute maximum amount of force a strap can withstand in a laboratory setting before failure. The WLL is exactly one-third of the break strength. The WLL represents the maximum safe capacity for everyday use. It accounts for dynamic G-forces, road vibrations, and sudden braking during transit. When determining the total WLL required for a load, the combined WLL of all straps used must equal or exceed the total weight of the cargo.
Environmental conditions and visibility requirements also dictate hardware selection. Standard straps often fall short for night hauling, oversized loads, or heavy industrial environments. In these scenarios, utilizing a Fluorescent Ratchet Tie Down provides significant operational benefits. The high-visibility webbing ensures that other motorists easily identify your securement points in low-light conditions. This meets DOT visibility recommendations and drastically improves safety during roadside inspections.
Scalability and application matching help you build a reliable inventory. Light-duty 1-inch straps work well for securing motorcycles, kayaks, and light residential cargo. However, heavy-duty 2-inch to 4-inch straps are mandatory for securing lumber, heavy machinery, and commercial freight. Selecting a heavy-duty Ratchet Tie Down ensures that the hardware possesses the necessary WLL, thicker webbing, and reinforced gear mechanisms required to handle immense industrial stresses.
Even with the correct equipment, improper implementation introduces severe risks to your transport operation. You must anticipate these risks and apply proven mitigation strategies in the field.
Over-tensioning happens frequently. The mechanical advantage of a ratchet handle allows you to apply thousands of pounds of force with minimal physical effort. Excessive ratcheting crushes fragile cargo, permanently bends structural anchor points, and prematurely stresses the webbing fibers. To mitigate this, tension the strap only until the load is firmly immobilized. If the cargo requires protection, place rigid edge protectors under the strap to distribute the downward force evenly.
Friction and edge wear destroy a strap faster than sheer weight. Sharp cargo edges, such as exposed steel plates, masonry, or machined metal parts, act like knives against polyester webbing under tension. Road vibration causes the strap to saw back and forth across these edges. To mitigate this risk, mandate the use of heavy-duty corner guards, specialized wear sleeves, or thick protective blankets wherever the webbing contacts a sharp or abrasive 90-degree angle.
Asymmetrical load shifting occurs when you improperly balance cargo or secure it from only one direction. Using only a single strap, or placing multiple straps at incorrect angles, allows the load to pivot. It can slide forward during braking or shift laterally during cornering. To mitigate this, standard practice dictates using a minimum of two tie-downs for any load, regardless of weight. Position straps strategically to counteract forward, backward, and lateral movement. This effectively pins the cargo to the deck from multiple opposing angles.
Successful cargo securement relies equally on precise mechanical execution and deploying equipment rated for the specific task. Proper threading, eliminating slack by hand, and executing the correct tensioning protocol prevent mechanism jams and load failures on the highway. Verify that the Working Load Limit exceeds the total cargo weight. Match the hook type precisely to the vehicle's structural anchor points. Opt for high-visibility options for commercial or nighttime applications to maximize roadside safety.
Audit your current tie-down inventory immediately, checking all webbing for cuts, abrasions, and UV degradation.
Discard and destroy any compromised straps or bent ratchet mechanisms to prevent accidental use.
Procure compliant, high-quality replacements with verified WLL ratings that match your heaviest anticipated loads.
Implement the passenger-side rule for all future securement operations to ensure operator safety during transit adjustments.
A: You need exactly 2 to 3 full wraps of webbing around the mandrel. This amount provides enough friction to lock the strap securely without jamming the spool. It leaves enough space inside the mechanism to ensure the handle closes and locks completely flat.
A: The WLL is the maximum safe capacity for everyday use. It is strictly one-third of the absolute breaking strength. Break strength is the point of failure in a lab. You must base all cargo securement calculations solely on the WLL to account for dynamic transit forces.
A: A stuck strap usually results from over-spooling or debris in the gears. If you ratcheted too much slack into the spool, the webbing jams against the frame. Apply firm downward pressure on the release lever while aggressively pulling the main strap to force the mandrel to turn.
A: Placing the ratchet buckle on the passenger side ensures you can perform roadside adjustments safely on the highway shoulder. This keeps you out of the path of oncoming traffic and minimizes your exposure to high-speed vehicles when re-tensioning loads.
A: No. Tie-downs are designed exclusively for securing loads to a surface. They are not rated for overhead lifting or hoisting. Overhead lifting introduces different dynamic forces and requires specific rigging hardware, such as chain slings, that meet distinct safety standards.
A: Replace straps based on condition, not a strict time limit. Look for visible cuts, frayed edges, melted webbing, severe UV fading, or a deformed ratchet mechanism. Inspect straps before every use and discard them immediately if you find any structural damage.
A: Use fluorescent straps for low-light transport, oversized loads, or when complying with specific site safety regulations. High-visibility straps make anchor points easily identifiable to other drivers and operators. This significantly reduces the risk of accidents during night hauling or complex industrial transport.

